
If you’re a novice gardener, you may have been to one of your more advanced gardening friends’ property, seen a complex system of tubes and devices they used for irrigation and assumed it had been set up by NASA. But these “drip-irrigation” systems are much simpler — and more affordable — than you might expect.
If that’s not enough reason for you to go all-in on drip irrigation, you should also keep in mind that they save you time, because you don’t have to continuously be going out to water; save you money, because the water is efficiently placed at the roots of the plants; and even prevent weeds, since you aren’t scattering water for any and all plants to enjoy.
So, how do you set one of these systems up?
Do we have your attention? Here are the simple steps to take to create your own drip-irrigation system:
- Create a plan: Take an inventory of all the plants that you need watered. Where are they and where is the closest water spigot? You’ll need to measure the distances from the spigot to the furthest plants, and then branch off to the sides from there. Be aware that you can split the hose an almost unlimited number of times, so you don’t have to make a zig zag that hits everything with one section of hose.
- Attach a Y adapter: Your water spigot (also called a faucet or hose bib) just has one place to attach a hose. If you get a Y adapter, you now have two connections. This is key, because if you set up a drip-irrigation system and don’t put a Y junction there, you won’t be able to use that spigot for any other purposes. Make sure the adapter has an on/off valve for each connection, too, so you can have the drip irrigation going without water flowing out of the other side.
- Assemble head assembly: Pick the end of the Y that is closer to the direction you wish to send the hose, and put together the “head assembly.” In drip-irrigation kits, this will all come together, but you can also get each of these items yourself. The elements include a backflow filter, so irrigation water doesn’t flow back into your home’s water lines; a pressure regulator, so there will be just enough water pressure, not too much or too little; and a timer, so you can set the amount of time and the time of day that you want the system to run.
- Run the main hose lines: Now you are ready to run the main half-inch hose lines from the head assembly towards your plants. Depending on if you have five or 100 plants, and whether they are spread out or grouped together, this could look very different. The goal is to get these main hose lines in the area of all the plants that need to be watered. They do not have to go directly past each plant, however. Further T junctions will allow the hose to split and go in different directions.
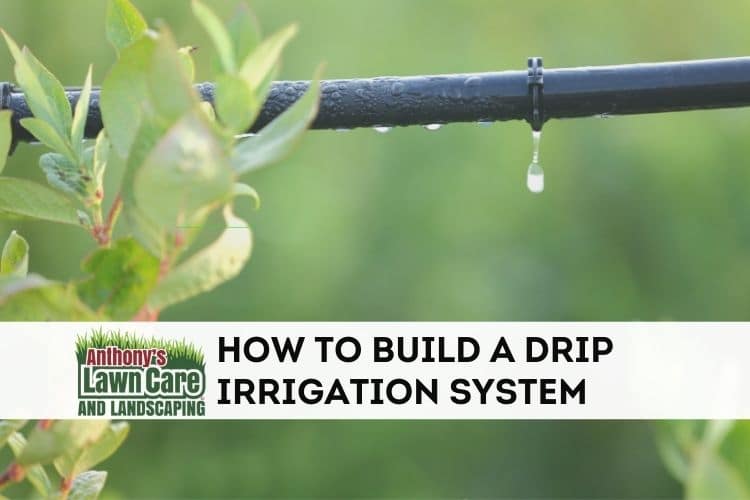
- Run smaller lines and emitters: Off of these main lines, if need be, you then run smaller hoses, often quarter-inch, that will get more directly around the plants to be watered. There are also the “emitters,” which are the part that actively drips the water. Small holes in the hose feed the emitters water, but the flow is controlled by the emitters. In some simpler systems, there are no emitters other than the holes poked in the hose. Water simply leaks out of the holes directly in the locations desired.
- Do a test: Now you can do a test run and see how it all works. If it works well, set your timers and keep an eye out for how the plants react to the amount of water they are getting from the system.
- Hide the hose: You may not care about this final step if you have a system that is more about function over beauty. But if the drip-irrigation system is watering your front-yard garden or another area where you want to keep things looking nice, you may want to bury the hoses. You can cover them with mulch, dirt or other debris, but don’t bury them too deep in case you need to make adjustments, and also do not bury the emitters.
Ask Anthony’s if you need further help
Bloomington, Indiana, area gardeners who need a bit more assistance getting their drip-irrigation systems up and running can reach out to Anthony’s for help. Call us at (812) 345-5694 and we’ll be happy to come out and make sure it’s all set up right.
Recent Comments